


Levelit wedges | 250 pcs
Levelit wedges | 250 pcs
48 in stock
Couldn't load pickup availability
✓ Current delivery time: 1 business day
✓ Free shipping from €40
✓ Free returns within 14 days
How it works
How it works
Volume discount
Volume discount
Planning a large order?
For orders from €150, you receive €7.50 off.
For orders from €250, you receive €25 off.
For orders from €500, you receive €100 off.
For orders from €1,000, you receive €250 off.
The discount is automatically applied at checkout.
Not valid in combination with other discounts.
Shipping and returns
Shipping and returns
Shipping
Orders placed before 13:00 are shipped the same working day. Once your order has been dispatched, you will receive a tracking link to follow your delivery.
Click here for more information about shipping and delivery.
Returns
Not completely satisfied with your product? We are here to help with a quick and easy returns process. You can return items to our warehouse within 14 days of receipt.
Click here for more information about returns and refunds.
Contact us
For any other questions, please get in touch with us.
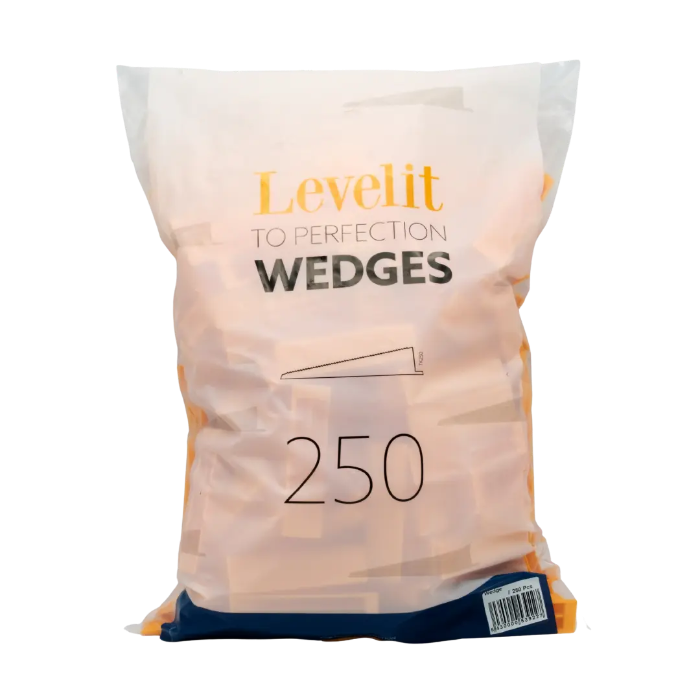

Levelit wedges | 250 pcs
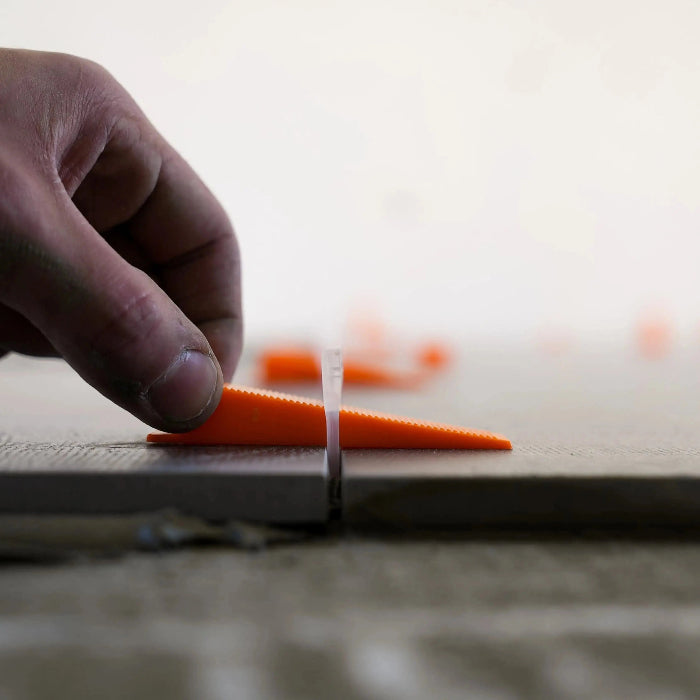
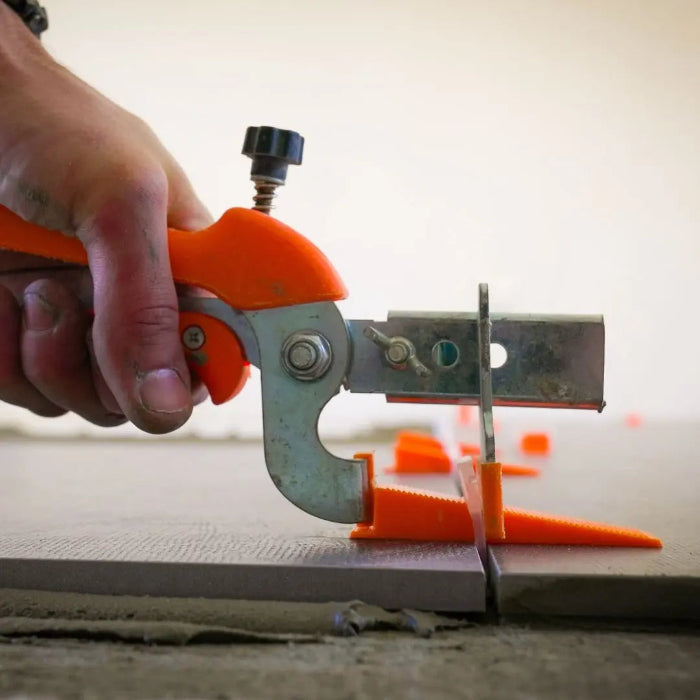
The Levelit wedges easily bring tiles to the same level, ensuring a flat and even result without lippage. Made from durable plastic, they offer high strength and are reusable for efficient, long-term use.
To be used in combination with Levelit or XL spacer clips.
Product specifications
Make your choice smartly
Which joint width should you choose?
How many clips do you need?
How many wedges do you need?
How does it work?


Choose the right tile levelling system
LEVELIT TILING SYSTEM
HELIX TILING SYSTEM
XL TILING SYSTEM
TILING BUDDY WEDGE SYSTEM


